
Why Your Caulk Keeps Cracking - And What to Do Differently
Cracking caulk is rarely random. Explore the root causes behind caulk failure and the application habits that lead to longer-lasting seals.
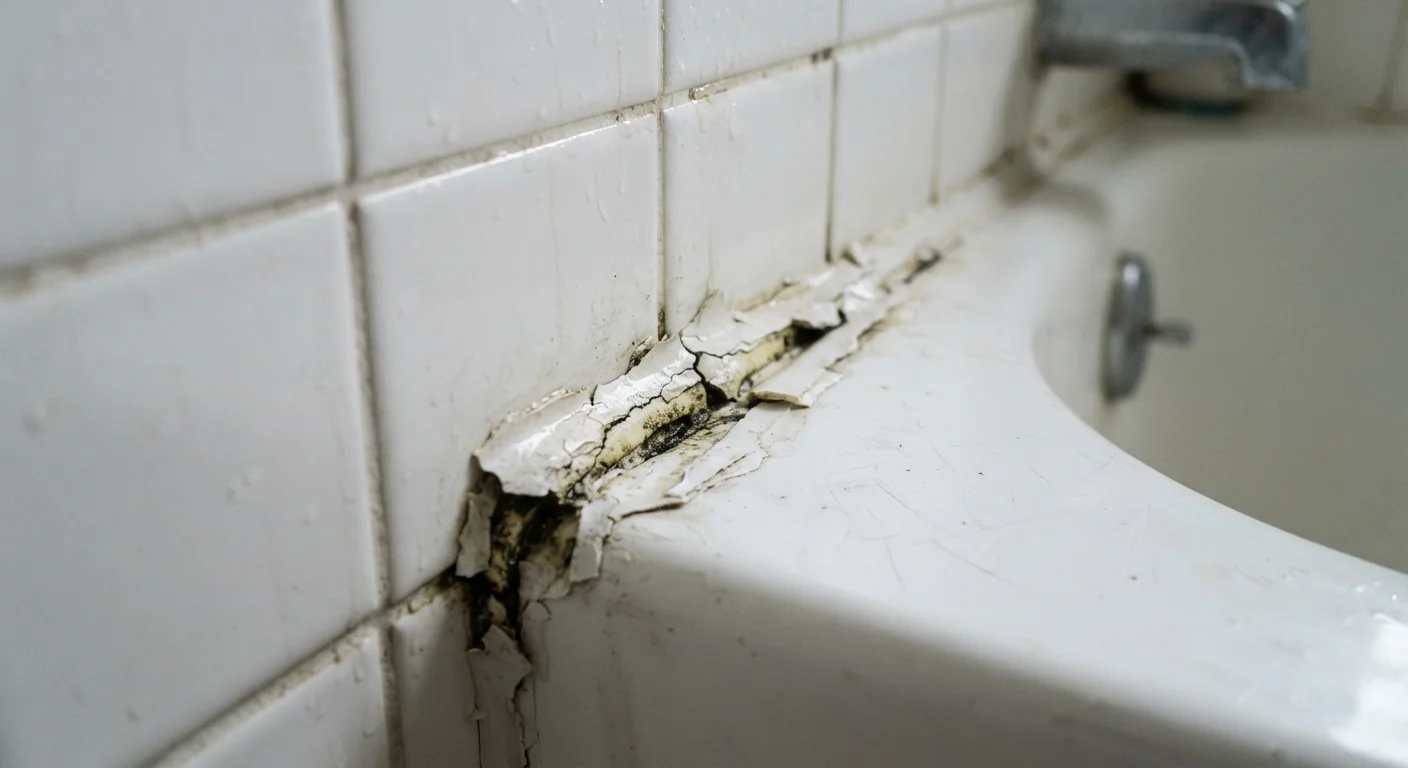
Photo: ReadersChronicle.com | Your Comprehensive Learning Destination editorial
—— In This Article
Key Takeaways
- Caulk cracks most often because of poor surface prep, wrong product choice, or applying too thick a bead.
- Silicone and latex caulks behave very differently - using the wrong type for the location is a common error.
- Skipping full removal of old caulk before reapplying almost guarantees the new seal will fail quickly.
- Temperature and humidity at the time of application directly affect how well caulk cures and bonds.
- Proper caulk technique takes minutes to learn and can extend a seal's life from months to many years.
Why Caulk Failure Is Almost Never Random
If you've re-caulked a tub, window frame, or exterior joint and watched it crack or peel within months, you're not alone - and it's rarely bad luck. Caulk fails in predictable ways, almost always tracing back to a handful of avoidable mistakes made before or during application. Understanding those patterns is the first step to getting a seal that actually holds.
Caulk is designed to flex. It bridges the gap between two surfaces that expand, contract, and shift with temperature and moisture. When it cracks, it usually means the caulk couldn't flex as designed - either because it was applied incorrectly, wasn't the right product for the job, or was bonded to a surface that wasn't ready. The fix is rarely more caulk; it's better habits.
For related moisture problems that caulk failure can worsen, see our guide to how small leaks escalate. And if you're not sure whether caulk is even the right tool for a particular gap, our comparison of caulking and weather stripping can help you choose.
The Most Common Caulking Mistakes - And How to Avoid Them
The mistakes below account for the vast majority of premature caulk failure in homes. Work through them before your next application.
Applying new caulk directly over old, cracked caulk without removing it first.
Why it happens: It seems faster and easier to simply cover the problem, and fresh caulk can temporarily hide the crack. Most people underestimate how much the old material affects adhesion.
Using the wrong type of caulk for the location - for example, applying interior latex caulk in a wet or exterior environment.
Why it happens: Caulk labels can be confusing, and many homeowners assume one type works everywhere. Latex and silicone caulks have very different flexibility, water resistance, and adhesion profiles.
Applying caulk to a surface that is damp, dirty, or not fully dry.
Why it happens: Moisture and surface residue are invisible problems - the joint may look clean and dry, but a thin film of soap scum, dust, or humidity prevents the caulk from bonding properly.
Running too thick a bead of caulk in a single pass, thinking more product means a stronger seal.
Why it happens: It's a natural instinct to fill generously, and thicker beads seem more substantial. In reality, thick caulk cures unevenly - the surface skins over while the interior stays soft and shrinks as it dries.
Caulking in very cold, very hot, or extremely humid conditions without accounting for curing requirements.
Why it happens: Most people apply caulk when they notice the problem, not when conditions are ideal. Temperature and humidity ranges on product labels are often overlooked entirely.
For a deeper look at wet-area failures specifically, our article on reapplying grout and caulk in showers and tubs walks through the full resealing process.
Don't Skip the Full Cure Time
Most caulks display a surface-dry time of 30-60 minutes, but full cure - the point at which the joint reaches its rated flexibility and water resistance - can take 24 to 72 hours or more depending on the product and conditions. Using a tub or shower before the caulk fully cures is one of the fastest ways to compromise the new seal. Check the product label for cure time and plan accordingly.
Getting It Right the Next Time
Most caulk jobs that hold for years share the same qualities: clean, dry surfaces; the right product for the location; a consistent, moderate bead; and enough cure time before the joint faces moisture or movement. None of these steps require special tools or professional experience - just patience and attention to a few details that are easy to rush past.
5-10 years
Expected lifespan of properly applied silicone caulk
Industry guidance from sealant manufacturers generally cites 5-10 years for silicone in wet areas when applied correctly - compared to 1-3 years when prep steps are skipped.
~30 min
Additional prep time for proper caulk removal and cleaning
Home maintenance professionals consistently note that the prep phase - not the application itself - determines the majority of a caulk seal's lifespan.
When you're ready to reapply, resist the urge to skim over old caulk with a fresh layer. Full removal, proper prep, and a fresh start nearly always outperform patching - and the investment of an extra 30 minutes can mean years of difference in how long the new seal lasts.
This article is for general home maintenance information only. For structural, plumbing, or code-regulated work, consult a licensed contractor and verify local permit requirements.

Home Editorial Team
Home Editorial Team is the collective byline for our editorial team and contributor network. Articles published under this byline or an editorial pen name are researched, written, and reviewed according to our editorial standards for clarity, consistency, and independence before publication.
View author profile