
Drywall Patching: From Small Holes to Large Sections
Learn the right techniques for patching drywall holes of any size, including what materials work best and when to call a professional.
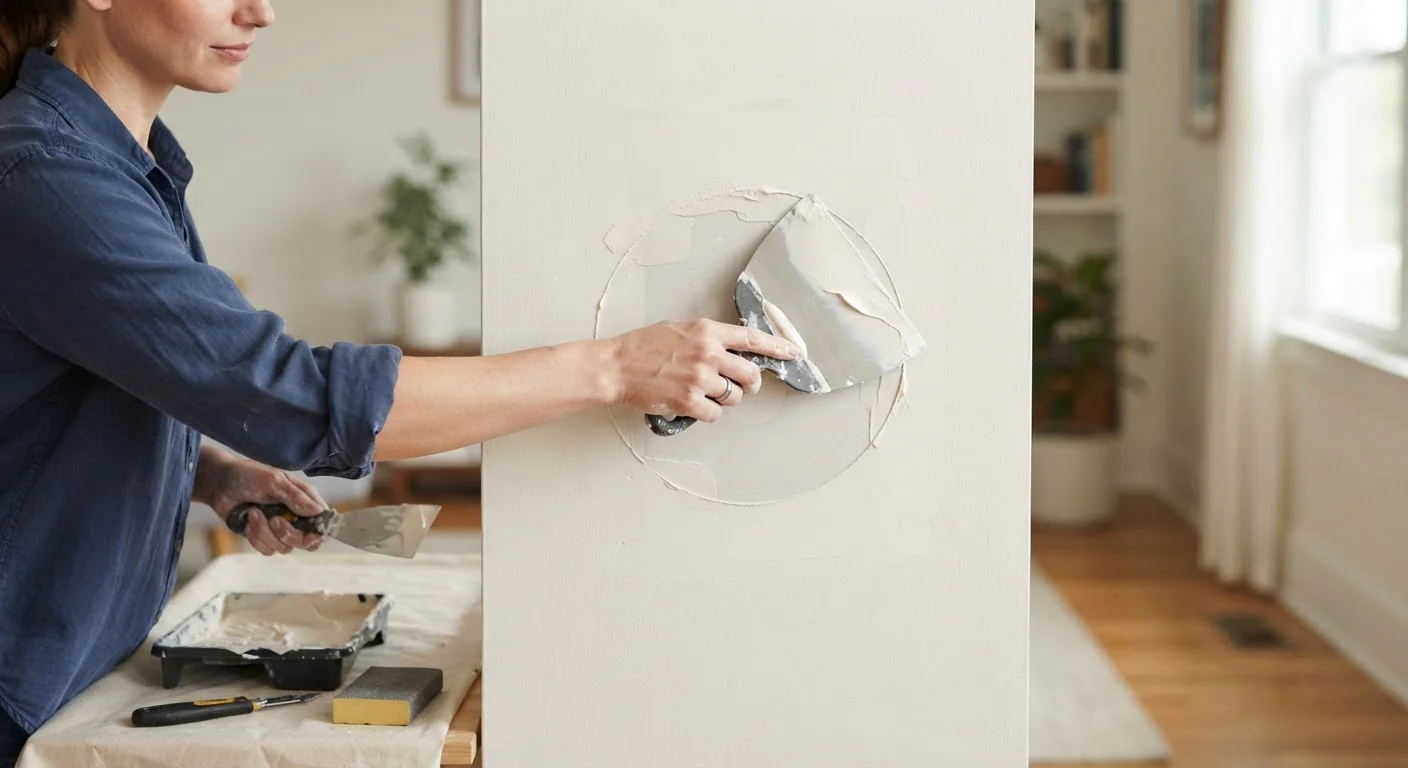
Photo: ReadersChronicle.com | Your Comprehensive Learning Destination editorial
—— In This Article
Key Takeaways
- Hole size determines which patching method to use - small, medium, and large each require a different approach.
- Drying time between coats of joint compound is critical; rushing it leads to cracks and uneven surfaces.
- Feathering and sanding the edges smooth is what separates a professional-looking result from a visible patch.
- Large holes over 6 inches typically need a backer board or drywall clip for structural support.
- Matching existing wall texture before painting is the final step most DIYers overlook.
What You Need Before You Start
Drywall repairs are well within reach for most homeowners, but success depends on matching your approach to the damage. Having the right materials on hand before you begin prevents the most common frustration: stopping mid-repair because you lack a tool. Here's what you'll need:
What you will need
Pre-Mixed Joint Compound
Fills and smooths the patched area; forms the base for priming and painting.
Drywall Patch Kit (self-adhesive mesh)
Provides a ready-made backing for holes roughly 2-6 inches in diameter.
Drywall Clips or Backer Boards
Support a new drywall piece from behind when repairing large holes that lack nearby studs.
Sanding Sponge or Sandpaper (120-grit)
Smooths dried compound flush with the surrounding wall surface.
Primer
Seals the repaired area so paint adheres evenly and doesn't look dull or blotchy.
Check for Wiring and Pipes First
Before cutting into drywall for any repair, use a stud finder with AC detection or a non-contact voltage tester to check for electrical wires or plumbing pipes behind the wall. Cutting into a live wire or supply line is a serious safety hazard. If your tester signals something behind the wall, stop and consult a licensed electrician or plumber before proceeding.
If you're unsure whether a repair is DIY-appropriate - for instance, if the damage is near plumbing, is part of a load-bearing assembly, or affects a very large area - see our guide to knowing when to call a pro before you begin.
Step-by-Step: Patching Any Drywall Hole
Follow these steps in order. The key variables - which patch backing to use and how many compound coats to apply - depend on hole size, so refer back to your initial assessment at each stage.
Assess the hole and gather materials
Measure the hole and classify it: small (nail holes and dents up to about ½ inch), medium (½ inch to 6 inches), or large (over 6 inches). Your repair method depends entirely on this size. Gather the appropriate materials before starting - switching mid-repair wastes drying time.
Small holes: fill directly with compound
For nail holes, small dents, or cracks under ½ inch, load a small amount of pre-mixed joint compound onto a 3-inch putty knife and press it firmly into the hole. Scrape the surface nearly flush with the wall. A single thin coat usually suffices for very small holes. Let it dry completely before sanding.
Medium holes: apply a self-adhesive patch
For holes between ½ inch and 6 inches, center a self-adhesive mesh patch over the opening and press it firmly to the wall. The mesh provides support so the compound doesn't crack or sink. Apply a coat of joint compound over the mesh with a 6-inch knife, spreading it 2-3 inches beyond the patch edges. Let dry fully.
Large holes: cut, back, and replace drywall
For holes over 6 inches, cut the damaged area into a clean rectangle using a drywall saw. Install drywall clips or screw horizontal backer boards across the opening behind the wall to create a mounting surface. Cut a matching piece of new drywall to fit the opening, screw it in, then tape all seams with paper drywall tape embedded in joint compound.
Apply additional coats and feather the edges
Once the first coat is completely dry, apply a second coat with a wider knife (8 to 10 inches), extending the compound 4-6 inches past the patch boundary on each side. This wider, thinner application - called feathering - blends the patch gradually into the surrounding wall so it's invisible after paint. Most repairs need two to three coats total.
[tip_callout]Sand, prime, and match the texture
Once the final coat is fully dry, sand the area smooth using a sanding sponge or 120-grit sandpaper, using light circular strokes. Wipe away dust with a damp cloth. Apply a coat of primer before painting - skipping primer causes the repaired spot to appear dull compared to the surrounding wall. If your wall has texture (orange peel, knockdown, or skip-trowel), replicate it before priming using the appropriate technique or a spray texture can.
Drywall damage near wet areas like bathrooms deserves extra attention. Moisture that gets behind the wall can lead to mold and structural deterioration. If you notice soft or discolored drywall around a tub or shower, the issue may go deeper than the surface - our article on grout and caulk failure in wet areas explains what to watch for and how to address the surrounding seals.
Don't Skip the Drying Time
Applying a second coat of joint compound before the first coat is fully dry traps moisture and almost always results in cracking or shrinkage. Compound should look uniformly white (not grey or translucent) before you sand or recoat. In humid conditions, this can take 24 hours or longer per coat.

Home Editorial Team
Home Editorial Team is the collective byline for our editorial team and contributor network. Articles published under this byline or an editorial pen name are researched, written, and reviewed according to our editorial standards for clarity, consistency, and independence before publication.
View author profile