
Winterizing Your Pipes: Steps to Take Before the First Freeze
Frozen pipes can burst and cause serious water damage. Follow these preparation steps each fall to protect your plumbing before temperatures drop.
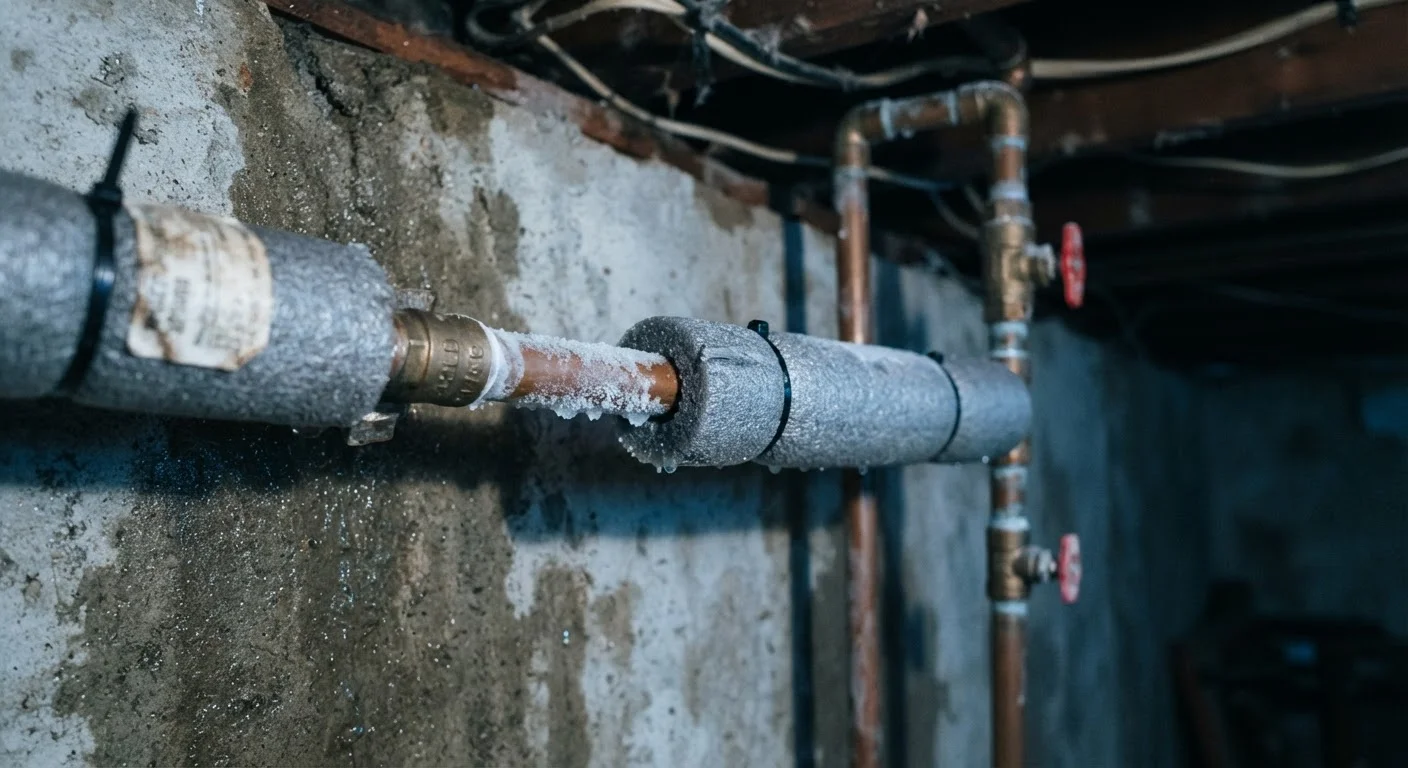
Photo: ReadersChronicle.com | Your Comprehensive Learning Destination editorial
—— In This Article
Key Takeaways
- Pipes in unheated spaces like crawl spaces and garages are most vulnerable to freezing.
- Foam pipe insulation is inexpensive and installable without professional help.
- Disconnecting outdoor hoses prevents water from backing up into interior supply lines.
- Knowing your main water shut-off location is critical before any pipe emergency occurs.
- A single burst pipe can cause thousands of dollars in water damage.
Why Pipe Freezing Is a Serious Risk
Water expands when it freezes - roughly 9% in volume. Inside a rigid pipe, that expansion has nowhere to go, which is why frozen pipes crack or burst rather than simply thaw and continue working. The resulting leak can go undetected inside a wall for hours, soaking insulation, framing, and drywall before you notice anything wrong.
Pipes most at risk are those in unheated spaces or running along exterior walls where insulation is thin. Homes in climates with occasional hard freezes can actually face higher risk than homes in consistently cold regions, because homeowners may underestimate the danger of a single overnight temperature drop. Completing a full winterization before the first freeze is far less expensive than repairing water damage afterward.
For a broader look at getting your home ready for cold months, see our room-by-room pre-winter maintenance checklist, which covers heating systems, draft sources, and more.
Foam pipe insulation sleeves
Wraps around exposed pipes to slow heat loss and reduce freezing risk.
Pipe wrap tape (heat tape)
Electrically heated tape applied to pipes in extreme cold zones for added protection.
Adjustable wrench
Used to disconnect and drain outdoor hose bibs securely.
Caulk or expanding foam
Seals gaps and cracks in walls where cold air reaches pipes.
Flashlight
Needed to inspect pipes in dim crawl spaces and basement corners.
What You'll Need Before You Start
Winterizing your pipes doesn't require specialized training, but a few supplies and a bit of preparation make the process go smoothly. Gather your materials before you begin so you can work through each area without stopping.
What you will need
Once you have what you need, work through the steps below methodically - starting with inspection so you know the full scope before purchasing insulation materials.
Locate and inspect all vulnerable pipes
Walk through your home with a flashlight and identify every pipe running through unheated areas - crawl spaces, garages, exterior walls, and attics. These are the sections most likely to freeze when temperatures drop below 32°F. Note any existing insulation that appears cracked, missing, or compressed, as it may no longer provide adequate protection.
Disconnect and drain outdoor hoses
Remove all garden hoses from outdoor spigots (hose bibs). Water left in a connected hose can freeze back into the pipe itself, causing a break inside your home's wall. After disconnecting, turn off the interior shut-off valve that feeds each outdoor bib if your home has one, then open the exterior spigot to drain any remaining water.
Insulate exposed pipes
Slide foam pipe insulation sleeves - available at most hardware stores in standard diameter sizes - over exposed pipes in unheated areas. Secure seams with tape. Pay close attention to pipes that run along exterior walls or sit directly against concrete. For pipes in extremely cold zones, self-regulating heat tape applied before the sleeve adds another layer of protection.
Seal gaps where cold air reaches pipes
Use caulk or expanding foam to close any openings in walls, floors, or foundations near pipe runs. Even small gaps allow cold outside air to concentrate around pipes. Common locations include where pipes enter or exit the home, around dryer vents, and at rim joists (the board sitting on top of your foundation wall).
Drain and shut off irrigation systems
If your home has an in-ground irrigation or sprinkler system, drain it completely before the first freeze. Most systems have a manual or automatic drain valve; others require compressed air to blow out remaining water - a task typically handled by an irrigation professional. Leaving water in underground lines can crack the pipes and damage valve assemblies.
Confirm your main shut-off valve works
Locate your main water shut-off valve - usually near where the supply line enters the home - and turn it fully off and back on to confirm it operates smoothly. If the valve is stiff, corroded, or only partially closes, contact a licensed plumber to service or replace it before cold weather arrives. In an emergency, this valve is your first line of defense against flooding.
After Winterizing: Ongoing Cold-Weather Habits
Pipe winterization is a one-time fall task, but a few habits throughout winter reduce risk further. During prolonged cold snaps, let faucets on exterior walls drip slowly - moving water is harder to freeze than standing water. If you leave home for more than a day or two, ask a neighbor to check that interior temperatures remain stable.
Keep Interior Heat Above 55°F
If you plan to be away from home during cold stretches, keep the thermostat set to at least 55°F. Opening cabinet doors under sinks along exterior walls also helps warm air circulate around interior supply lines. These small habits can prevent a freeze even when insulation alone isn't enough.
If temperatures drop sharply and unexpectedly, check your most vulnerable pipes proactively rather than waiting for a problem to appear. Early detection of a frozen section before it bursts is far easier to manage.
If a Pipe Freezes, Act Immediately
Signs of a frozen pipe include no water flow from a faucet, visible frost on a pipe, or unusual banging sounds. Turn off the main water supply right away to minimize damage if it has already burst. Never use an open flame to thaw a pipe - use a hair dryer or warm towels only. Contact a licensed plumber if you cannot safely locate or access the frozen section.
Seasonal vehicle prep follows similar logic - small preventive steps avoid costly failures. Our seasonal car prep guide walks through what to check as temperatures shift.

Home Editorial Team
Home Editorial Team is the collective byline for our editorial team and contributor network. Articles published under this byline or an editorial pen name are researched, written, and reviewed according to our editorial standards for clarity, consistency, and independence before publication.
View author profile