
Weatherstripping a Drafty Door Without Removing the Door Frame
A practical walkthrough for sealing air leaks around exterior doors using weatherstripping — no carpentry experience required.
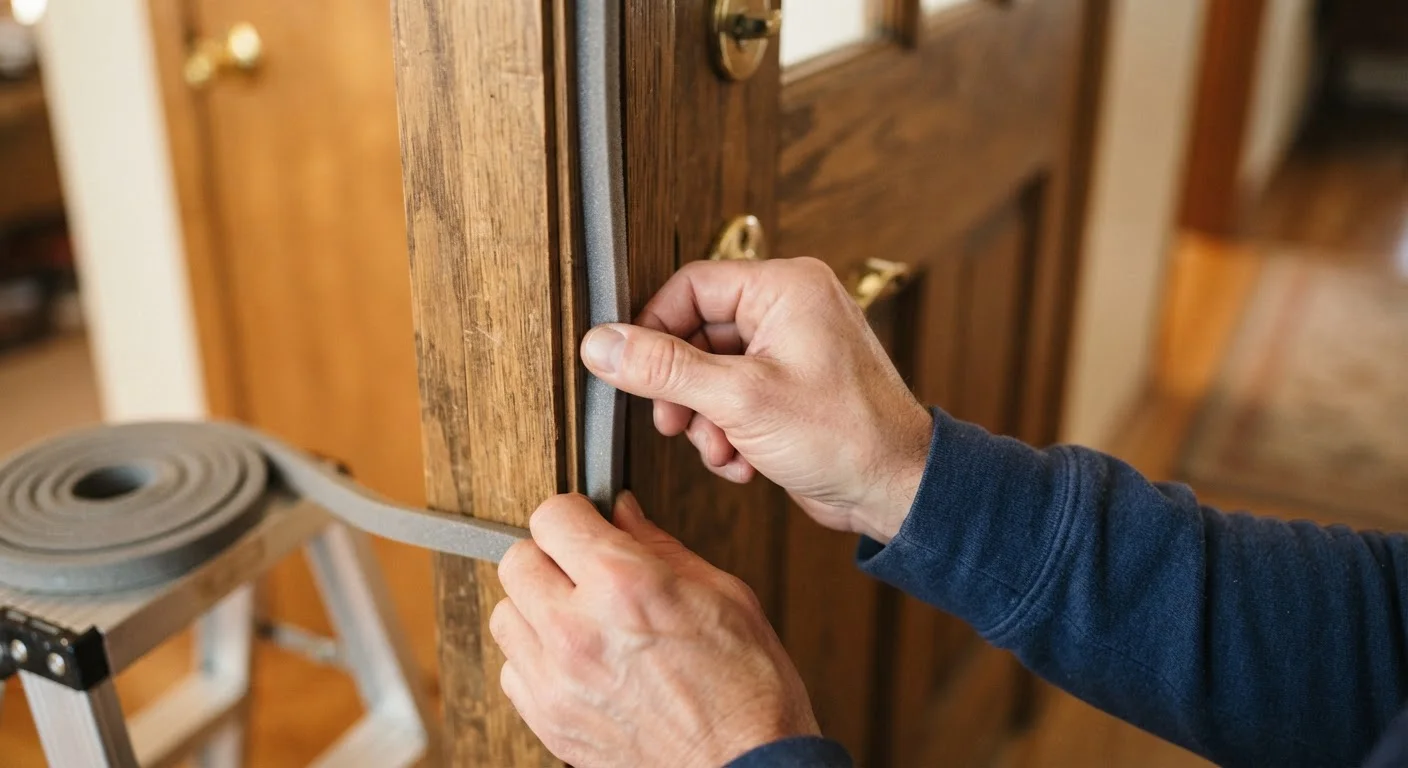
Photo: ReadersChronicle.com | Your Comprehensive Learning Destination editorial
—— In This Article
Key Takeaways
- You can seal most drafty exterior doors with weatherstripping without removing or modifying the door frame.
- Choosing the right weatherstripping material for each gap location makes the seal last longer.
- Cleaning and drying surfaces before application is the most important step for adhesive products.
- A door sweep addresses the bottom gap, while compression or V-strip seals the sides and top.
- Properly sealed doors can reduce the uncomfortable drafts that make heating systems work harder.
Why Weatherstripping Works - and When to Use It
Air leaks around exterior doors are one of the most common sources of energy loss in a home. When you feel a draft near a closed door, it usually means the gap between the door and its frame has grown wide enough to let outside air in freely. Weatherstripping closes that gap without any structural changes to the door or frame.
This approach works best when the door itself is in reasonable condition - it closes fully, the latch engages, and there's no significant warping or rot. If the frame is damaged or the door doesn't hang square, weatherstripping alone won't solve the problem. For everything else, it's a reliable fix any homeowner can handle in an afternoon.
Not sure whether weatherstripping is the right method for your situation? The differences between caulking and weatherstripping can help you decide which approach fits each gap around your home.
What you will need
Tools and Materials You'll Need
Gathering supplies before you start keeps the project moving. The specific weatherstripping type you need depends on which part of the door is leaking:
- Sides and top (door stop area): Foam tape or compression strips with self-adhesive backing work well here.
- Sides and top (inside the gap): V-strip (tension seal) - a folded plastic or metal strip - fits into the gap between the door and frame and is very durable.
- Bottom of the door: A door sweep attaches to the bottom edge of the door itself and drags lightly across the threshold.
For most standard exterior doors, you'll want a combination: V-strip or compression foam for the three sides, and a door sweep for the bottom.
Measuring tape
Measure each side of the door frame to cut weatherstripping to the correct length.
Utility knife or scissors
Cut foam tape, V-strip, or door sweep material cleanly to size.
Isopropyl alcohol and clean rags
Clean and degrease the door frame surface so adhesive sticks properly.
Foam compression tape (self-adhesive)
Seals the gap between the door stop and the door face on the sides and top.
V-strip (tension seal)
Fits inside the side gaps between door and frame for a durable, low-profile seal.
Door sweep
Attaches to the bottom of the door to seal the gap between door and threshold.
Screwdriver
Drives the screws that secure a door sweep to the bottom of the door.
Flashlight or work light
Helps you spot gaps and verify complete contact after installation.
Step-by-Step: Sealing the Door
Follow these steps in order. Taking time on the prep work - especially cleaning - makes a significant difference in how long the seal holds.
Find and Map the Gaps
On a windy day, hold a stick of incense or a thin strip of tissue near the door edges while it's closed. Movement in the tissue reveals exactly where air is entering. Mark those spots lightly with a pencil. Pay close attention to all four sides: top, latch side, hinge side, and bottom.
Clean the Application Surfaces
Wipe down the door stop (the narrow strip of wood the door presses against when closed) and the bottom edge of the door with isopropyl alcohol. Remove all dirt, old adhesive residue, and moisture. Let the surface dry completely - at least five minutes - before applying anything. Adhesive weatherstripping applied to a dirty or damp surface will peel away within weeks.
Measure and Cut the Side and Top Strips
Measure the height of each side of the door frame from the bottom corner to the top corner, then measure the width across the top. Cut your foam tape or V-strip to match these lengths exactly. For V-strip, cut each piece about a quarter-inch shorter than the measured length to prevent bunching at corners.
Apply the Side and Top Weatherstripping
Starting at the top of one side, peel a few inches of backing from the foam tape and press it firmly onto the door stop face - the surface the door contacts when closed. Work downward in short sections, pressing firmly as you go. Repeat on the opposite side and then across the top. For V-strip, slide it into the gap between door and frame with the open end of the V facing outward, then tack it in place using the provided brads or peel the adhesive backing if it has one.
Install the Door Sweep
Open the door and hold the door sweep against the interior face of the door at the bottom, with the rubber or brush seal touching the threshold when the door is closed. Mark the screw hole positions with a pencil. Pre-drill small pilot holes if the door is solid wood to prevent splitting, then drive the screws by hand. Close the door and verify the sweep makes light, consistent contact across the full threshold width.
Test the Door Operation
Open and close the door several times. It should latch without extra force and swing freely without scraping. If it feels notably stiffer than before, the foam tape on the stop may be too thick. Remove it and substitute a thinner profile. A properly installed seal improves air tightness without making the door harder to operate.
Re-check Seals Each Fall
Weatherstripping compresses and wears over time, especially on high-traffic doors. Make it part of your annual fall routine to press the door stop and check that the seal still makes firm contact. Replacing worn strips is quick and inexpensive compared to waiting until the gap reopens noticeably.
Once you've finished weatherstripping your door, it's worth extending the same attention to other parts of the house. The pre-winter home maintenance checklist walks through additional draft sources, heating system checks, and plumbing considerations before cold weather sets in.
Checking Your Work and Troubleshooting
After installation, close the door and run your hand slowly around all four edges. You should feel no air movement. On a bright day, look for any light showing through the gaps from inside a darkened room - even small visible gaps will pass cold air.
If you still feel a draft at the sides or top, the compression strip may not be making full contact. Try a thicker foam tape, or add a second layer temporarily to test. If the door now feels stiff or won't latch properly, the strip is too thick - replace it with a thinner profile.
For a persistent bottom gap, check that the door sweep is angled correctly and making contact across the full width of the threshold. Most sweeps can be adjusted by loosening the mounting screws, repositioning the sweep lower, and re-tightening.
Don't Seal Interior Doors the Same Way
Weatherstripping methods for exterior doors are designed to handle temperature differences and moisture. Applying the same products to interior doors - especially around mechanical rooms or bathrooms - can interfere with ventilation or pressure balancing inside the home. Exterior door sealing is where this technique is appropriate.

Home Editorial Team
Home Editorial Team is the collective byline for our editorial team and contributor network. Articles published under this byline or an editorial pen name are researched, written, and reviewed according to our editorial standards for clarity, consistency, and independence before publication.
View author profile